Campaign
Campaign creation
Once the various settings for points 1 and points 2 have been made, you can start creating your first campaign.
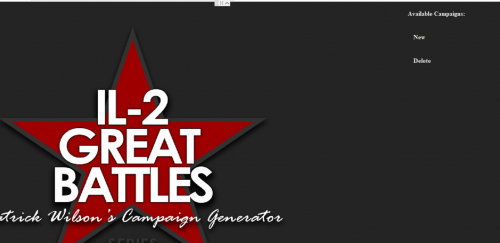
Click on the New button then choose the mode : single player or cooperative cooperative mode
Choose the squadron side attached to this campaign.
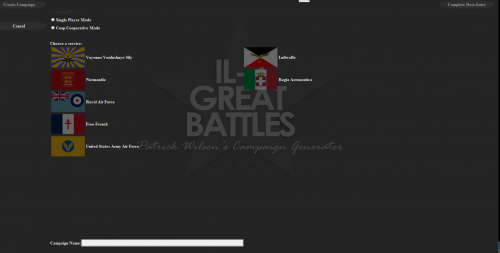
Then click on "Complete data entry"
You can then enter the campaign parameters by switching from one to the other by clicking on "Next step".
- Choose a pilot name.
- His nickname under il2 (Coop user)
- The map.
- The campaign start date: it determines the type of mission of the squadron based on historical elements.
- The role: determined by the type of squadron in the sector on the given date.
- The grade
- The squadron.
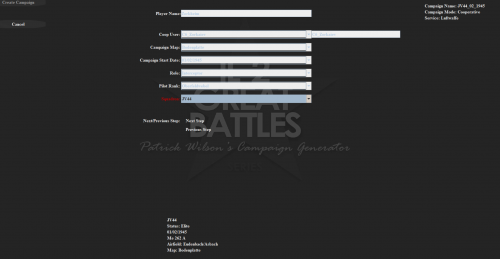
Then, after having clicked one last time on "Next Step", click on "Create Campaign"
You arrive on the main campaign management page.
The campaign home page and in particular the list of pilots and the roster are determined by the reference pilot (See Chapter 4,Personnel Management/Reference pilot)
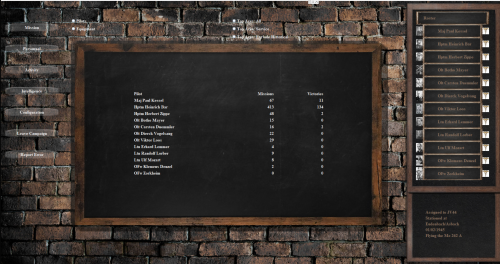
The roster provides information on each pilot (by clicking on his name): medals, flight log, etc...
Creating a mission
This step requires having previously created the participating pilots in the pilot administration module (See Chapter 4,Personnel Management / Administration of coop pilots) by the coop administrator.
Click on mission on the main campaign page, to create a mission.
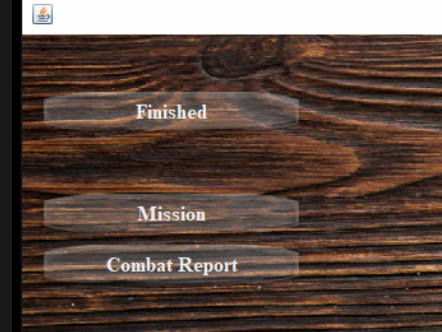
You arrive in the mission management module: creating missions and retrieving the results, via the Il2 Great Battle logs, of each mission after it has been played.

This is where you can already select the pilots who should participate in the mission. The pilot created during campaign creation should be included, although at a later stage of mission creation it may be removed.
When all the pilots are selected, click on "Coop Mission" and to cancel "Scrub Mission"
You arrive at the mission briefing:
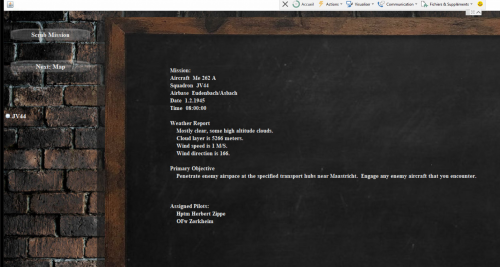
By clicking on Next: Map, you arrive on the page allowing to edit the way point. You have the possibility to modify the way points of the different squadrons present, in addition to your own.
By clicking on a way point with the middle mouse button you can remove it.
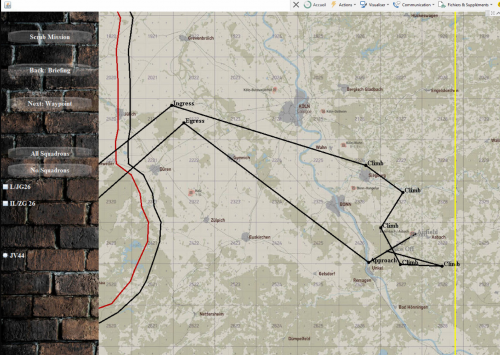
After editing the waypoint, you can modify its characteristics :
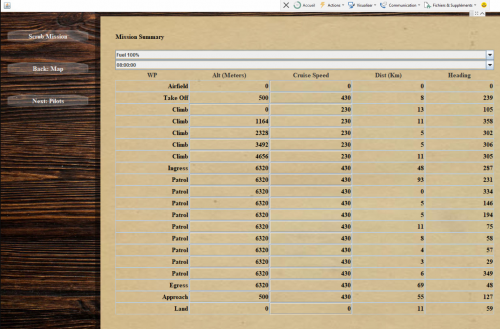
Then you arrive on the selection page for human or AI pilots for your mission.
The first pilot defined at the top of the page is the one who will be able to command the AIs (with dedicated menus in the game)
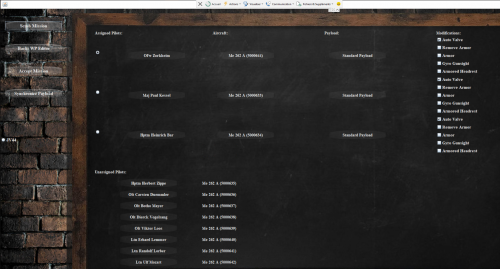
You can also pre-select the payloads, and propagate them to all pilots, if you want it.
Clicking on a pilot's name will remove it from the list of pilots assigned for the flight.
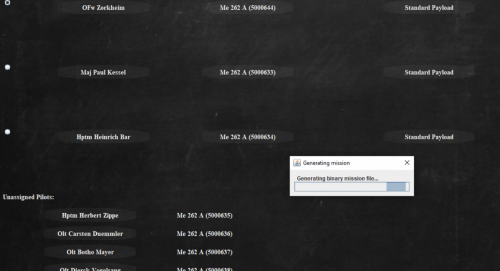
Then by clicking on "Accept Mission" you start the generation of the mission files.
The obtained mission files are usually located in (../1C Game Studios/IL-2 Sturmovik Great Battles/data/Multiplayer/Cooperative for a cooperative mission, for example C:/Program Files (x86)/1C Game Studios/IL-2 Sturmovik Great Battles/data/Multiplayer/Cooperative).
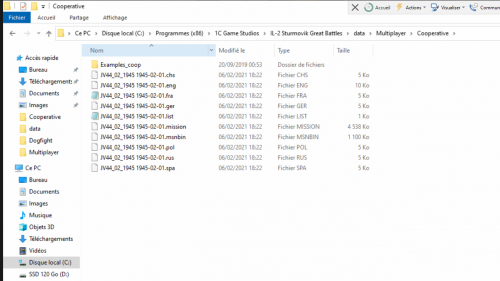
The *.Mission file (here JV44_02_1945 1945-02-01.mission) must be deleted before launching.
You can then play the mission by launching it from a Dserver or Il2 Great Battle as a single player or co-op mission depending on your initial choice.
Import of data (logs) of the mission performed.
After playing the mission, start the import of the generated data (log) in order to update the campaign.
Go back to PWCG and click on "Combat Report"

Claim your air-to-air victories, otherwise you won't be credited with victories you don't claim - Unless you really want to, be sure to make realistic claims!
Continue with the debriefing.
Repeat until you are dead or the war is over ...
Iconics missions.
The iconic missions button on the main screen lets you run an iconic mission outside the scope of a campaign. You run through the briefing to change the mission just like any campaign mission and then just fly it.
Rhine:
- Arnhem:
- parachute and cargo drops 9/17/1944 - 9/28/1944
- Rhine map front line improvements to show drops
- Ardennes:
- German attack Dec 20 to Dec 24 1944
- Bastogne cargo drops Dec 25 to Dec 28 1944
- Allied counter attack Dec 29 to Dec 30 1944
- Bodenplatte Jan 1 1945
- German airfield attacks and Allied scrambles
- Plunder Rhine crossing March 23 1945
- Varsity air drop March 24 1945
Stalingrad:
- German bombing of city 8/20/1942 to 8/25/1942
- German dive bombing of barges 9/08/1942 to 9/12/1942
- Uranus 11/11/1942 to 11/22/1942 1942
- Encirclement with cargo drops 12/01/1942 to 12/31/1942
Kuban:
- Anti shipping period 10/08/1943 to 10/31/1943
- Includes scenarios with opposing sides coming into contact
- Russian invasion of Kerch 11/01/1943 to 11/11/1943