Campaign
Once the various settings for points 1 and points 2 have been made, you can start creating your first campaign or or play an iconic mission.
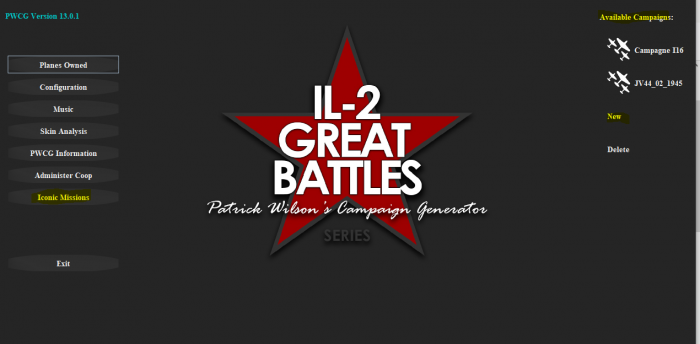
Campaign creation
To create a new campaign :
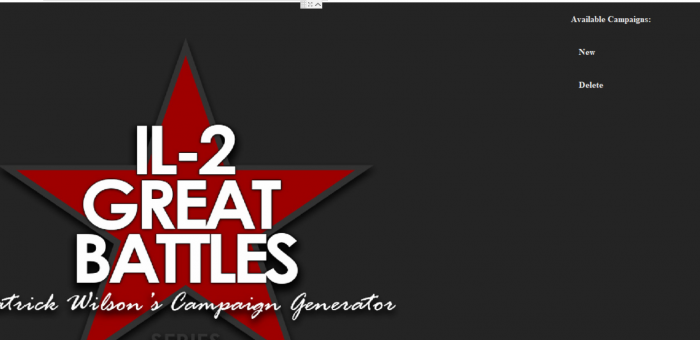
Click on the New button then choose the mode : single player or cooperative cooperative mode
Choose the squadron side attached to this campaign.
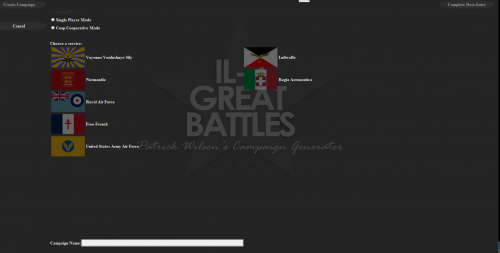
Then click on "Complete data entry"
You can then enter the campaign parameters by switching from one to the other by clicking on "Next step".
- Choose a pilot name.
- His nickname under il2 (Coop user)
- The map.
- The campaign start date: it determines the type of mission of the squadron based on historical elements.
- The role: determined by the type of squadron in the sector on the given date.
- The grade
- The squadron.
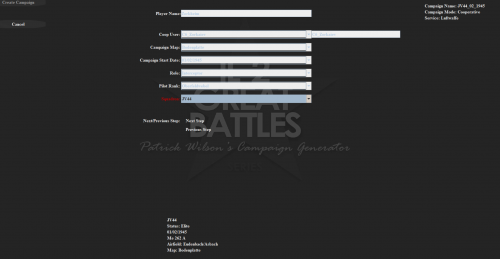
Then, after having clicked one last time on "Next Step", click on "Create Campaign"
You arrive on the main campaign management page.
The campaign home page and in particular the list of pilots and the roster are determined by the reference pilot (See Chapter 4,Personnel Management/Reference pilot)
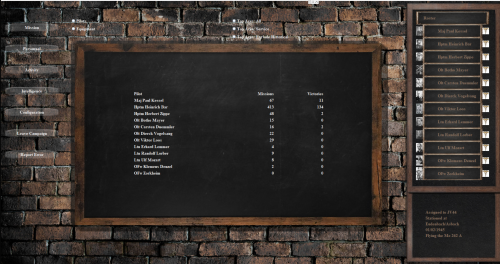
The roster provides information on each pilot (by clicking on his name): medals, flight log, etc...
Creating a mission
This step requires having previously created the participating pilots in the pilot administration module (See Chapter 4,Personnel Management / Administration of coop pilots) by the coop administrator.
Click on mission on the main campaign page, to create a mission.
You arrive in the mission management module: creating missions and retrieving the results, via the Il2 Great Battle logs, of each mission after it has been played.

This is where you can already select the pilots who should participate in the mission. The pilot created during campaign creation should be included, although at a later stage of mission creation it may be removed.
When all the pilots are selected, click on "Coop Mission" and to cancel "Scrub Mission"
to create a mission, it's a 4 step process and you get Accept Mission at the end :
You will see previous and next buttons. if you don't want to change anything keep hitting next.
1st Page: Briefing Description. Nothing to change on this page.
2nd Page: Waypoint map. Drag and drop the waypoints to change their position.
3rd Page: Waypoint Details. Change fuel load. You can also edit waypoint altitudes.
4th Page: Pilot/Plane selection. Change pilots by clicking on them. Change planes. Change payloads. Add modifications.
So, you arrive at the mission briefing:
Radio buttons are available and work on all four briefing screens (mission description, editing waypoints on the map, pilot selection).
They allow to choose the squadron for which the settings are made. When you change squads, the selection is reflected on the briefing screens.
For multi-team cooperative missions, if you have to manage the allied camp and that of the axis, (If you have human pilots in each team, the easiest way is to go through all the steps up to the choice of pilots and then to come back to this first screen to manage the opposing team.
(so go to the 4th step then come back)
Then for Co-op campaigns, you can publish only the information section of each camp so that each team understands its objectives, but is not aware of the routes of the others.
You can make screenshots to communicate to each team.
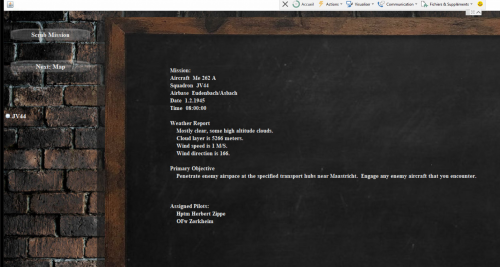
By clicking on Next: Map, you arrive on the page allowing to edit the way point. You have the possibility to modify the way points of the different squadrons present, in addition to your own.
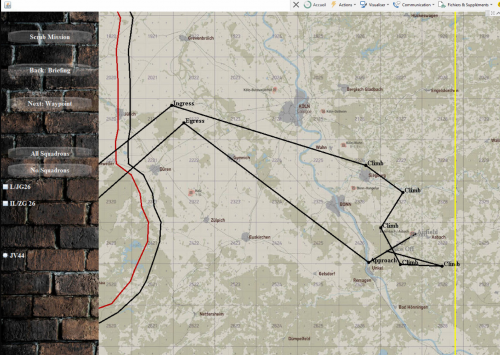
By clicking on a way point with the middle mouse button you can remove it.
Due to how IL-2 Co-op missions work, only the "reference" team of players will receive an in-game briefing.
So for the opposing team, please keep in mind, that the map will reflect the actual route assigned to it.
To work around this, you can during the mission creation phase at the last two screens shown above, click the radio button (circles, not squares) on the left side to switch to the 'other' team(s), and when you progress to the next, or go back to the previous screen, the information will update.
After editing the waypoint, you can modify its characteristics :
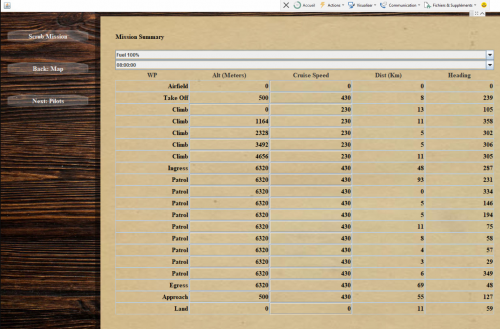
Warning : Cruise speed is kph. The AI is going to make up its own mind about speed. The waypoint speed is only a suggestion and not an order. The AI has to take the requests and process them with all of the other information.
PWCG aircraft have a cruise speed that is used as the WP speed. By opening the aircraft config file and changing cruise speed you will change WP speed.
Configuration files for each plane are located in ...\1C Game Studios\IL-2 Sturmovik Great Battles\PWCGBoS\BoSData\Input\Aircraft
However, these changes will only be effective when a new campaign is launched.
For default elevations, there are no standart altitudes. The altitudes differ depending on the aircraft type and mission type. For example, for fighters you have high altitude patrols from 3k upwards, and low altitude patrols in around 1500m.
In PWCG the missions are usually below or at least 1k above thick clouds, and if they are not, you can customize your mission altitude. However sometimes the clouds altitude changes then, too.
Altitudes are in a range, a wide range for fighter patrols, a very narrow one for dive bombers, etc...
Then you arrive on the selection page for human or AI pilots for your mission.
The first pilot defined at the top of the page is the one who will be able to command the AIs (with dedicated menus in the game)
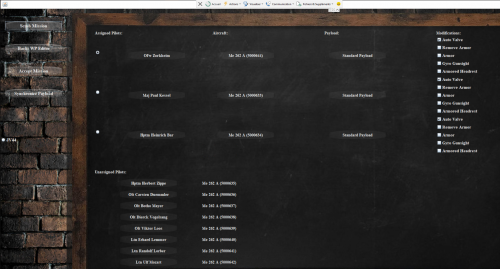
You can also pre-select the payloads, and propagate them to all pilots, if you want it.
Clicking on a pilot's name will remove it from the list of pilots assigned for the flight.
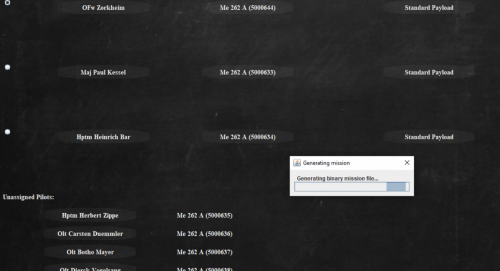
Then by clicking on "Accept Mission" you start the generation of the mission files.
The obtained mission files are usually located in (../1C Game Studios/IL-2 Sturmovik Great Battles/data/Multiplayer/Cooperative for a cooperative mission, for example C:/Program Files (x86)/1C Game Studios/IL-2 Sturmovik Great Battles/data/Multiplayer/Cooperative).
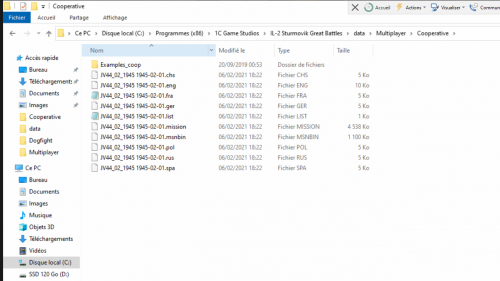
The *.Mission file (here JV44_02_1945 1945-02-01.mission) must be deleted before launching.
You can then play the mission by launching it from a Dserver or Il2 Great Battle as a single player or co-op mission depending on your initial choice.
If you don't play a mission, you can recreate one that will overwrite the files of the first created mission.
You can also replay a mission. When you launch the mission report creation procedure (AAR), PWCG will use the last logs.
Missions with Roles
If you have chosen this menu, after having configured the pilots you can choose the type of missions:
- recon
- Attack
- Train Buster
- raider
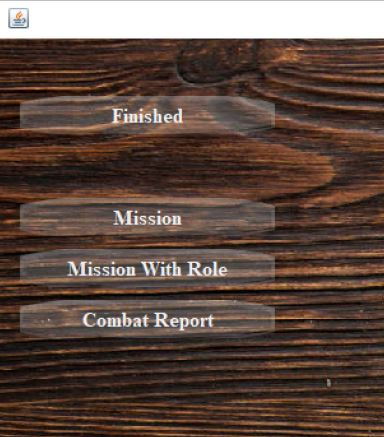
Combat Report / After Action Reports (AAR)
This button is used to retrieve the events generated by Il2 Great Battle. Events are generated from logs.
After playing the mission, start the import of the generated data (log) in order to update the campaign.
Go back to PWCG and click on "Combat Report"
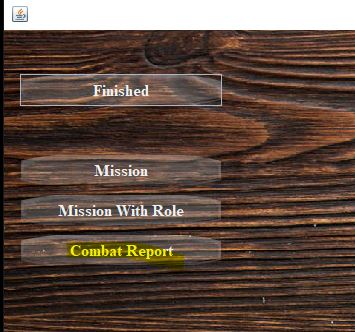
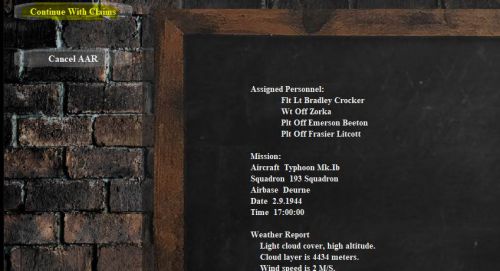
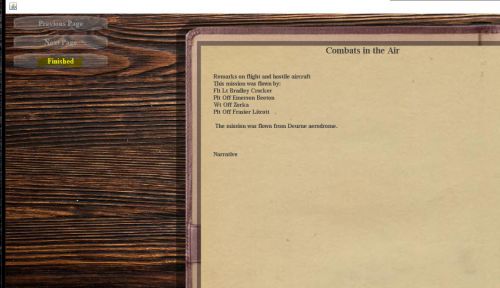
When you click on the "combat report" button, you arrive on this page.
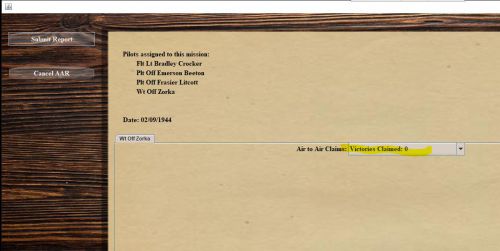
Each pilot can then request the validation of an aerial victory.
Claim your air-to-air victories, otherwise you won't be credited with victories you don't claim - Unless you really want to, be sure to make realistic claims!
Then click on "Submit report".
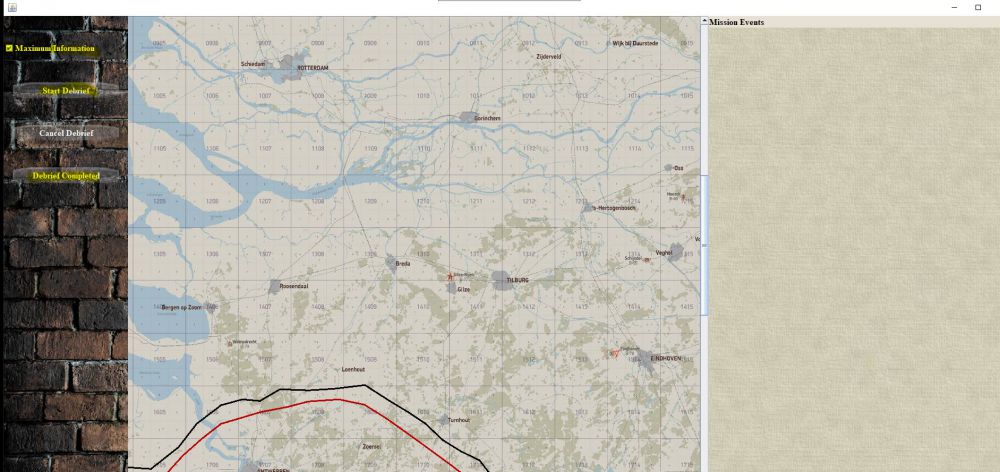
The maximum information box :
It's just a check box in the AAR to let you see the long or short version.
You can also press "Start Debrief" more than once to see it with or without the extra details.
The only purpose of the "Start Debrief"' button is to display the data, so you can use it repeatedly in an AAR.
The pink and red dots allow you to locate the fights carried out during the mission.
For the meaning of the red and pink marks : Red are destroyed and pink are damaged.
The details of each event, including those carried out by the AI, appear in "Mission Events"
When you have studied the events of the mission, you can click on the "Debrief Completed" button.
The last page presents a summary of the mission.
You can find detailed information for each mission in the "Activity" section, then "journal".
You can then continue the campaign by creating a new mission.
Repeat until you are dead or the war is over ...
Reminder : if you are injured in enemy territory
f you bailed out over enemy territory but had "max injury" set to seriously wounded.
PWCG changes captured to a serious wound. You can only be captured if you are playing dead is dead.
Make shot down behind enemy lines its own thing like serious wounds. PWCG will put your pilot out of action for "n" number of days while he makes his way back to his own lines and recovers from the ordeal.
It will be exactly the same as getting wounded in that you will have to take leave to advance time, but the messaging would be diffferent.
Iconic missions
The iconic missions button on the main screen lets you run an iconic mission outside the scope of a campaign. You run through the briefing to change the mission just like any campaign mission and then just fly it.
Rhine:
- Arnhem:
- parachute and cargo drops 9/17/1944 - 9/28/1944
- Rhine map front line improvements to show drops
- Ardennes:
- German attack Dec 20 to Dec 24 1944
- Bastogne cargo drops Dec 25 to Dec 28 1944
- Allied counter attack Dec 29 to Dec 30 1944
- Bodenplatte Jan 1 1945
- German airfield attacks and Allied scrambles
- Plunder Rhine crossing March 23 1945
- Varsity air drop March 24 1945
Stalingrad:
- German bombing of city 8/20/1942 to 8/25/1942
- German dive bombing of barges 9/08/1942 to 9/12/1942
- Uranus 11/11/1942 to 11/22/1942 1942
- Encirclement with cargo drops 12/01/1942 to 12/31/1942
Kuban:
- Anti shipping period 10/08/1943 to 10/31/1943
- Includes scenarios with opposing sides coming into contact
- Russian invasion of Kerch 11/01/1943 to 11/11/1943
![]()
You can choose a mission in a squadron or in a vehicle (if you have the tank crew expansion)
![]()
By clicking on generate you get to the mission briefing
![]()
Then to the map allowing you to adapt the waypoint.
![]()
Then the possible edition of the characteristics of each waypoint.
![]()
Then the designation of pilots for this mission. The "iconic player" driver corresponds to your player.
Acceptance of the mission allows you to generate the mission files.
These are saved in ... \ 1C Game Studios \ IL-2 Sturmovik Great Battles \ data \ Missions \ PWCG
![]()
You can play this mission as a single player in Il2 Great Battle.
